Allowlisting - Bypass Safe Link/Attachment Processing of M365 Advanced Threat Protection (ATP)
In order for GrintOps emails to function correctly, there are two sections that require additional rules to bypass Microsoft's Advanced Threat Protection system.
Note: As a precaution, we recommend waiting 1 hour after enabling these bypass policies to begin testing.
Step 1. Bypass ATP Attachments Scanning
To bypass ATP Attachment Processing, set up the following mail flow rule:
- Log into the Microsoft 365 (formerly Office 365) portal and select "Admin centers" > "Exchange".
- Select "Mail flow" to expand the settings menu then select "Rules".
- Click "Add a rule".
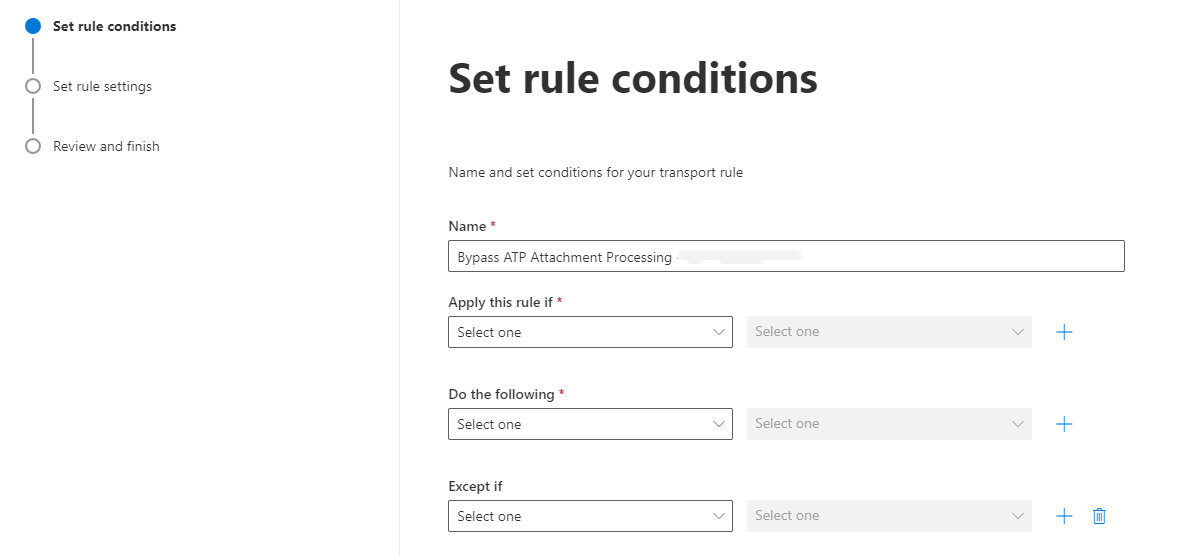
- Click "Create a new rule".
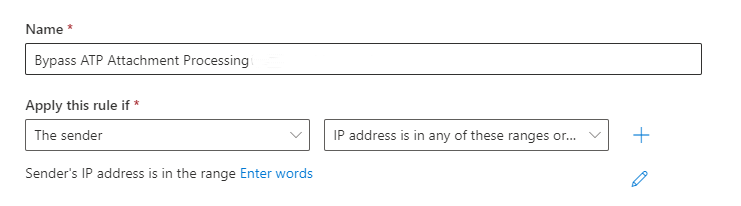
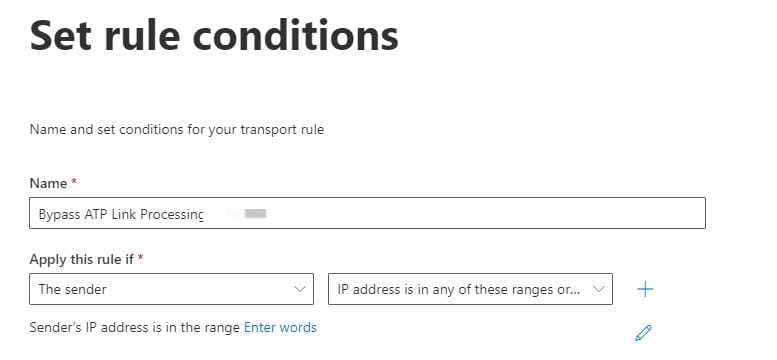
- Give the rule a name, e.g., "Bypass ATP Attachment Processing - IP Address".

- Under "Apply this rule if" select "The Sender..." > "IP address is in any of these ranges or exactly matches"

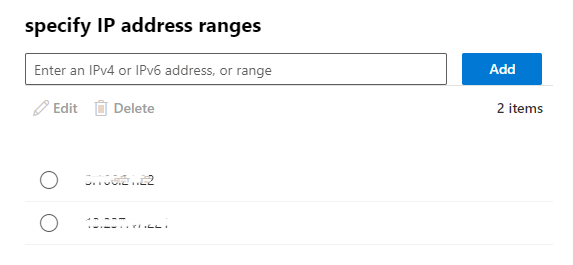
- Then enter each of GrintOps IP addresses, clicking the "Add" button for each. (A complete list of our IP addresses can be found here.) Then hit "Save".
- Under "*Do the following" select "Modify the message properties..." > "set a message header".
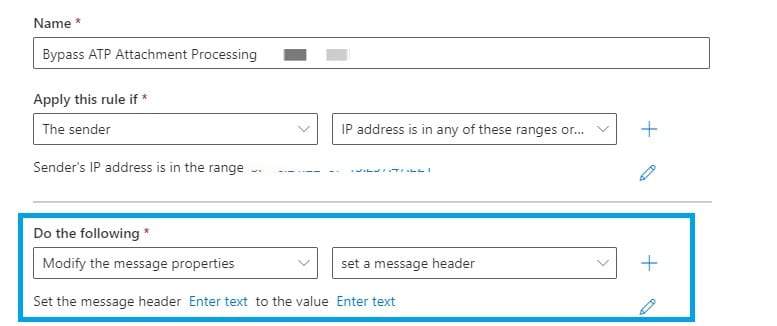
- Edit the properties of this by selecting the "Enter text" buttons:
Use the following entries:
Set the message header to "X-MS-Exchange-Organization-SkipSafeAttachmentProcessing" and set the value to "1". - Click "Next".
- Leave all settings in "Set rule settings" as their default values and click "Next".
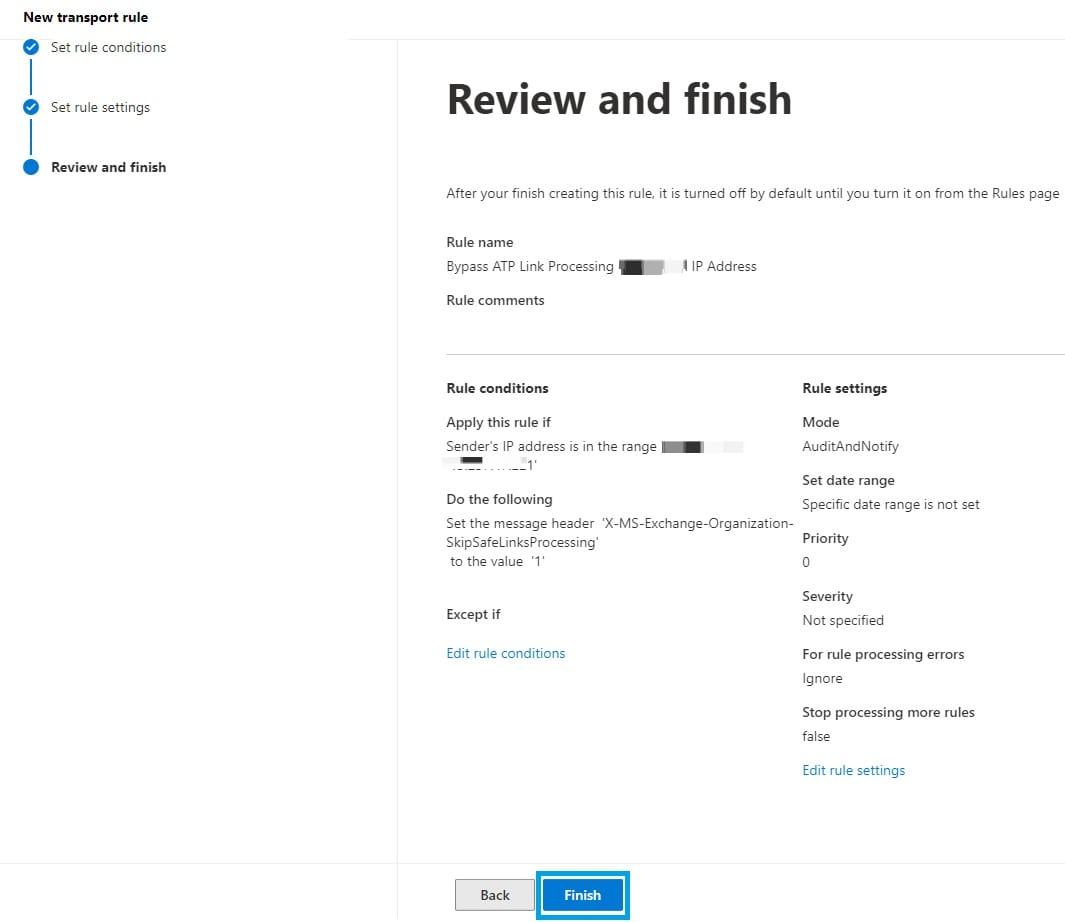
- Review your settings and click "Finish".


Step 2. Bypass ATP Safe Link Scanning
Note: The next rule to implement is dependent on whether you use Defender for Office 365 (ATP) Plan 1 or Plan 2.
- If you use Plan 1, please ONLY implement the Mail Flow Rule (ATP Link Bypass).
- If you use Plan 2, please ONLY implement the Threat Policy (Safe Link Bypass).
Do not implement BOTH rules below as they will interfere with each other.
If you do not know which Defender plan you have, simply follow the guide for Plan 2. If the Safe Links policy (on step 4) is not available, you have Plan 1.
Step 2. Plan 1 - Mail Flow Rule (ATP Link Bypass)
To bypass ATP Link Processing, set up the following mail flow rule:
- Log into the Microsoft 365 (formerly Office 365) portal and select "Admin centers" > "Exchange".
- Select "Mail flow" to expand the settings menu then select "Rules".
- Click "Add a rule".
- Click "Create a new rule".
- Give the rule a name, e.g. "Bypass ATP Link Processing - GrintOps IP Address".

- Under "Apply this rule if" select "The Sender" > "IP address is in any of these ranges or exactly matches".
- Then enter each of GrintOps IP addresses, clicking the "Add" button for each. (A complete list of our IP addresses can be found here.) Then hit "Save".

- Under "*Do the following" select "Modify the message properties..." > "set a message header".
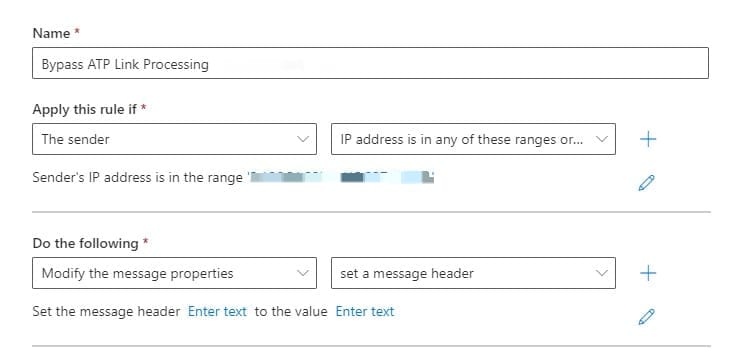
- Edit the properties of this by selecting the "Enter text" buttons:
Use the following entries:
Set the message header to "X-MS-Exchange-Organization-SkipSafeLinksProcessing" set the value to"1". - Click "Next".
- Leave all settings in "Set rule settings" as their default values and click "Next".
- Review your settings and click "Finish".


Step 2. Plan 2 - Threat Policy (Safe Link Bypass)
- Visit your Microsoft 365 Admin Center and click "Security" to open the Microsoft 365 Defender page.
- Click "Policies & rules" > "Threat policies"
- Click Safe Links
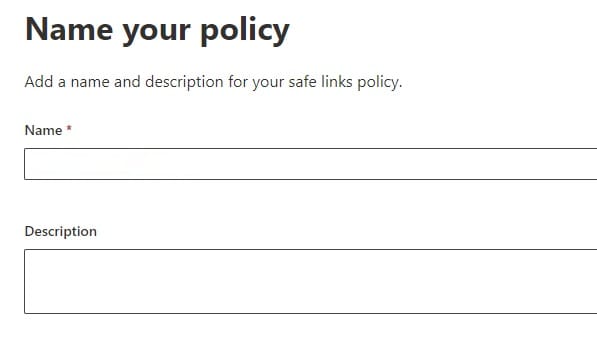
- Either edit the existing ATP Link Policy and click "Edit policy" or click the "Create" button to make a new one and call it something descriptive (e.g. GrintOps Safe Link Bypass). Once done, click Next.
- Ensure the policy includes all employees within your organisation. If you have a group that can be used for this, then select the group or simply select the domain that your employees have all their email addresses under (as shown in the example below). Once done, click Next.
- Leave all items as default but select the Manage 0 Urls hyperlink under the "Do not rewrite URLs..." field. Then click to add URLs:
- Finally, in the "Do not rewrite the following URLs" section, add domains that GrintOps use for phishing landing pages. Please see our Allowlisting - Quick Reference article for a full list of our landing page domains. Each landing page domain needs to be added.
Note: Each domain must be added using the format *.[rootdomain]/* so if you are adding the domain "authwebmail.com", you need to enter *.authwebmail.com/*

The following are examples of phishing website domains:
authwebmail.com/*
*.authwebmail.com/*
cmail31.com/*
*.cmail31.com/*
securesupportcloud.com/*
*.securesupportcloud.com/*
webnotifications.net/*
*.webnotifications.net/*
alerting-services.com/*
*.alerting-services.com/*
The following are examples of Manage URLs to Not Rewrite:
- Click Next and then Select Submit. And you're all done! These changes may take up to an hour to take effect.